The old racks were a one-piece construction. It made them very strong, but one the other hand it was a bit complicated to remove them from the bikes. We had also welded the spacers for the mounting points onto the rack itself and that also didn’t make the dismounting easier. Usually that is not a big deal, because you don’t remove them regularly anyway. However, it was still something that could be considered when designing the new racks.
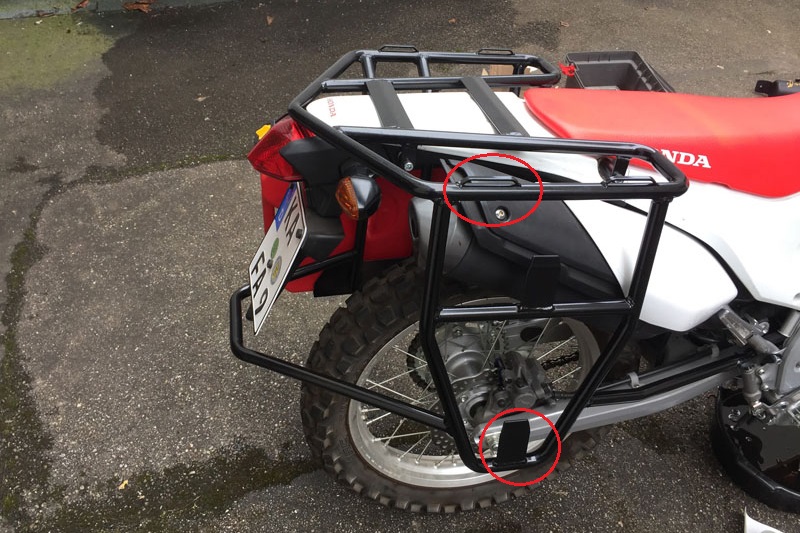
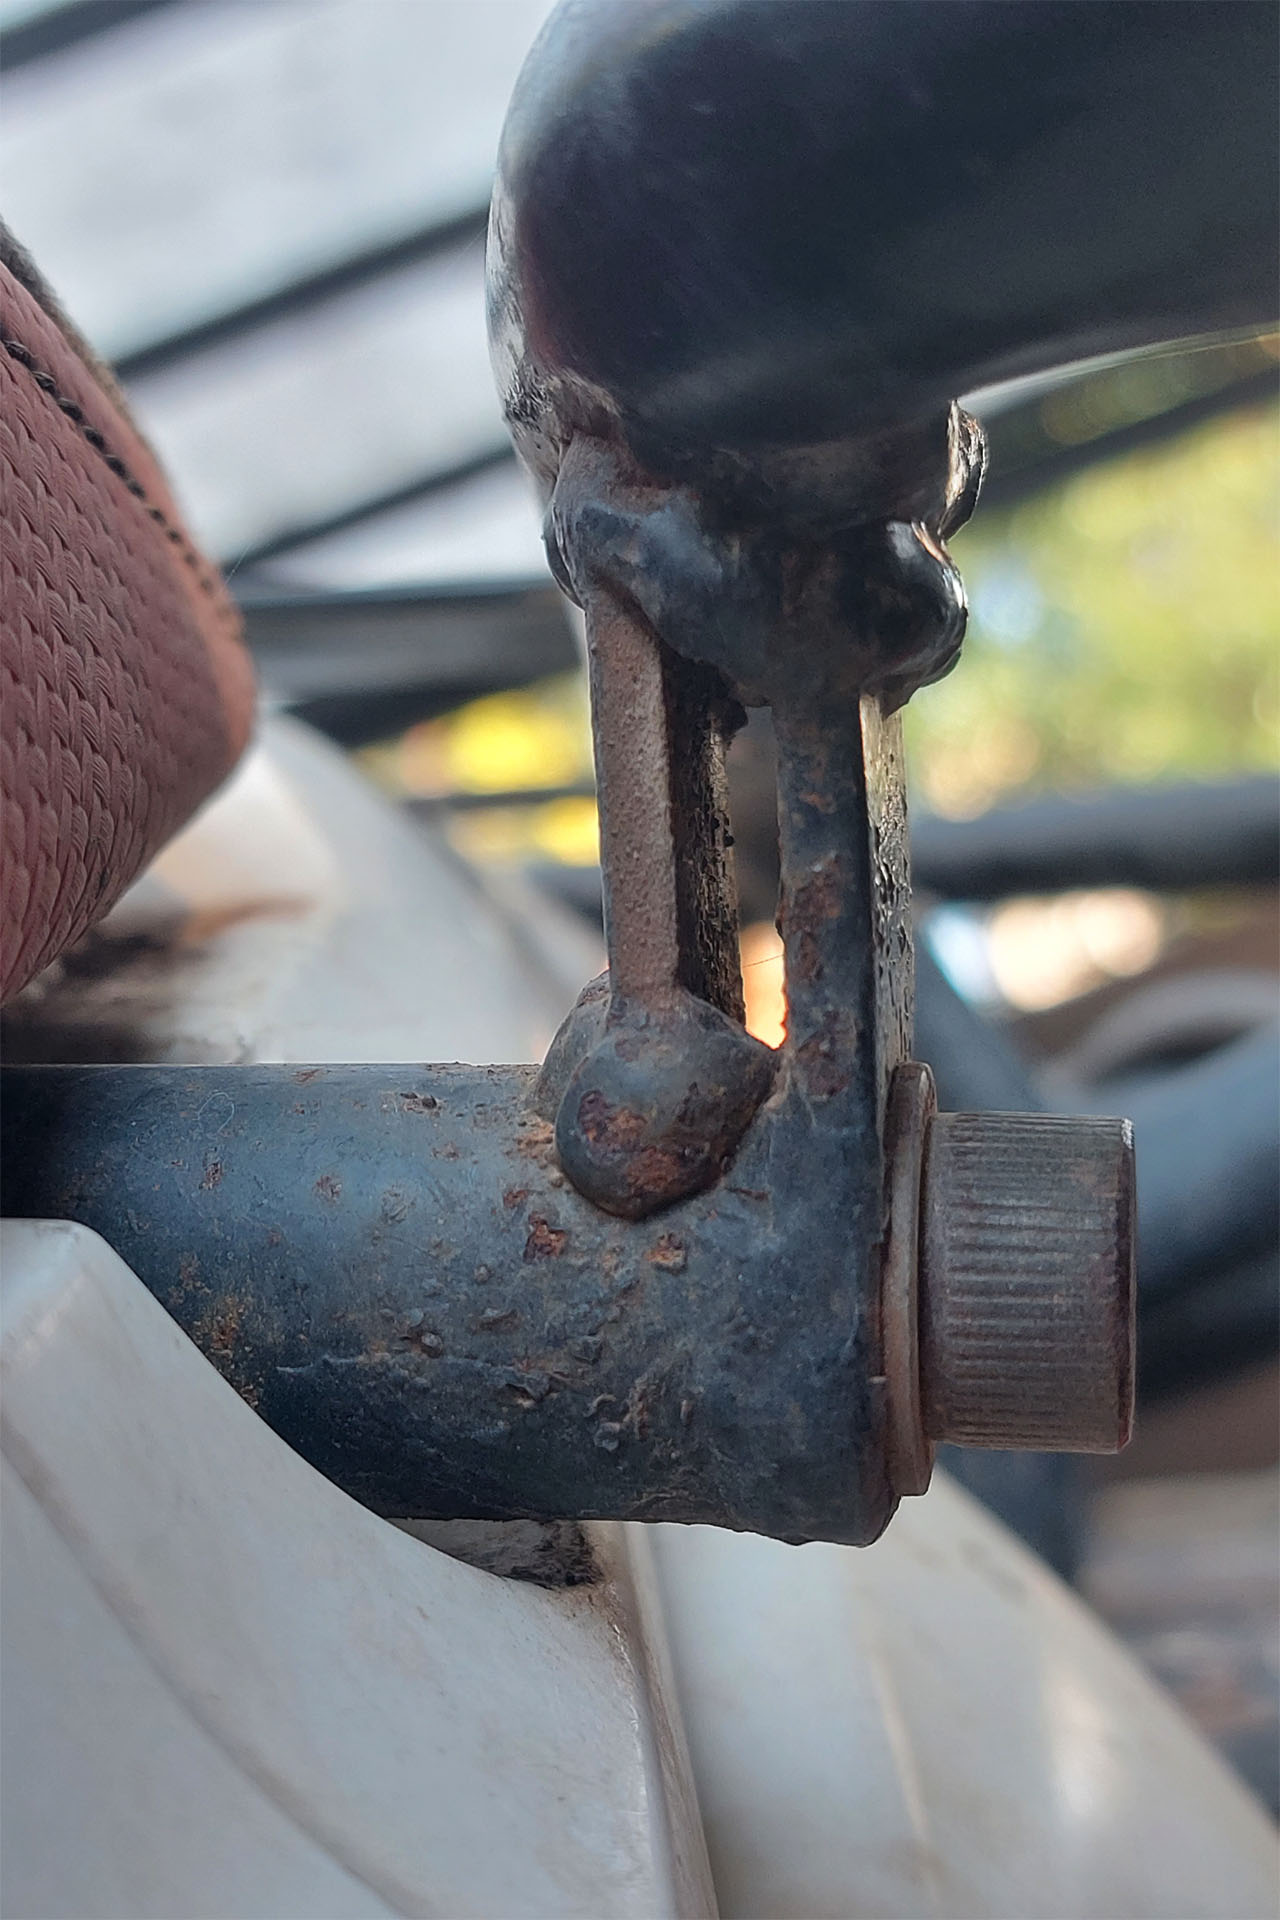
The only issue we had with the old racks, were broken mounts. After thousands of kilometers of washboard and sometimes extremely rough terrain, the dimension of the metal sheets at the rack’s mounting points was just too weak. They all broke on both racks and we finally had to reinforce them.
The old racks were especially made for Adventure Spec Magadan panniers. We actually were quite satisfied with them, but as soon as they are stuffed, they tend to hang down limply on the sides. You can get them under control by using tension straps, but it always takes a while to tame them before leaving. That was a reason to look for a better solution on the new racks.
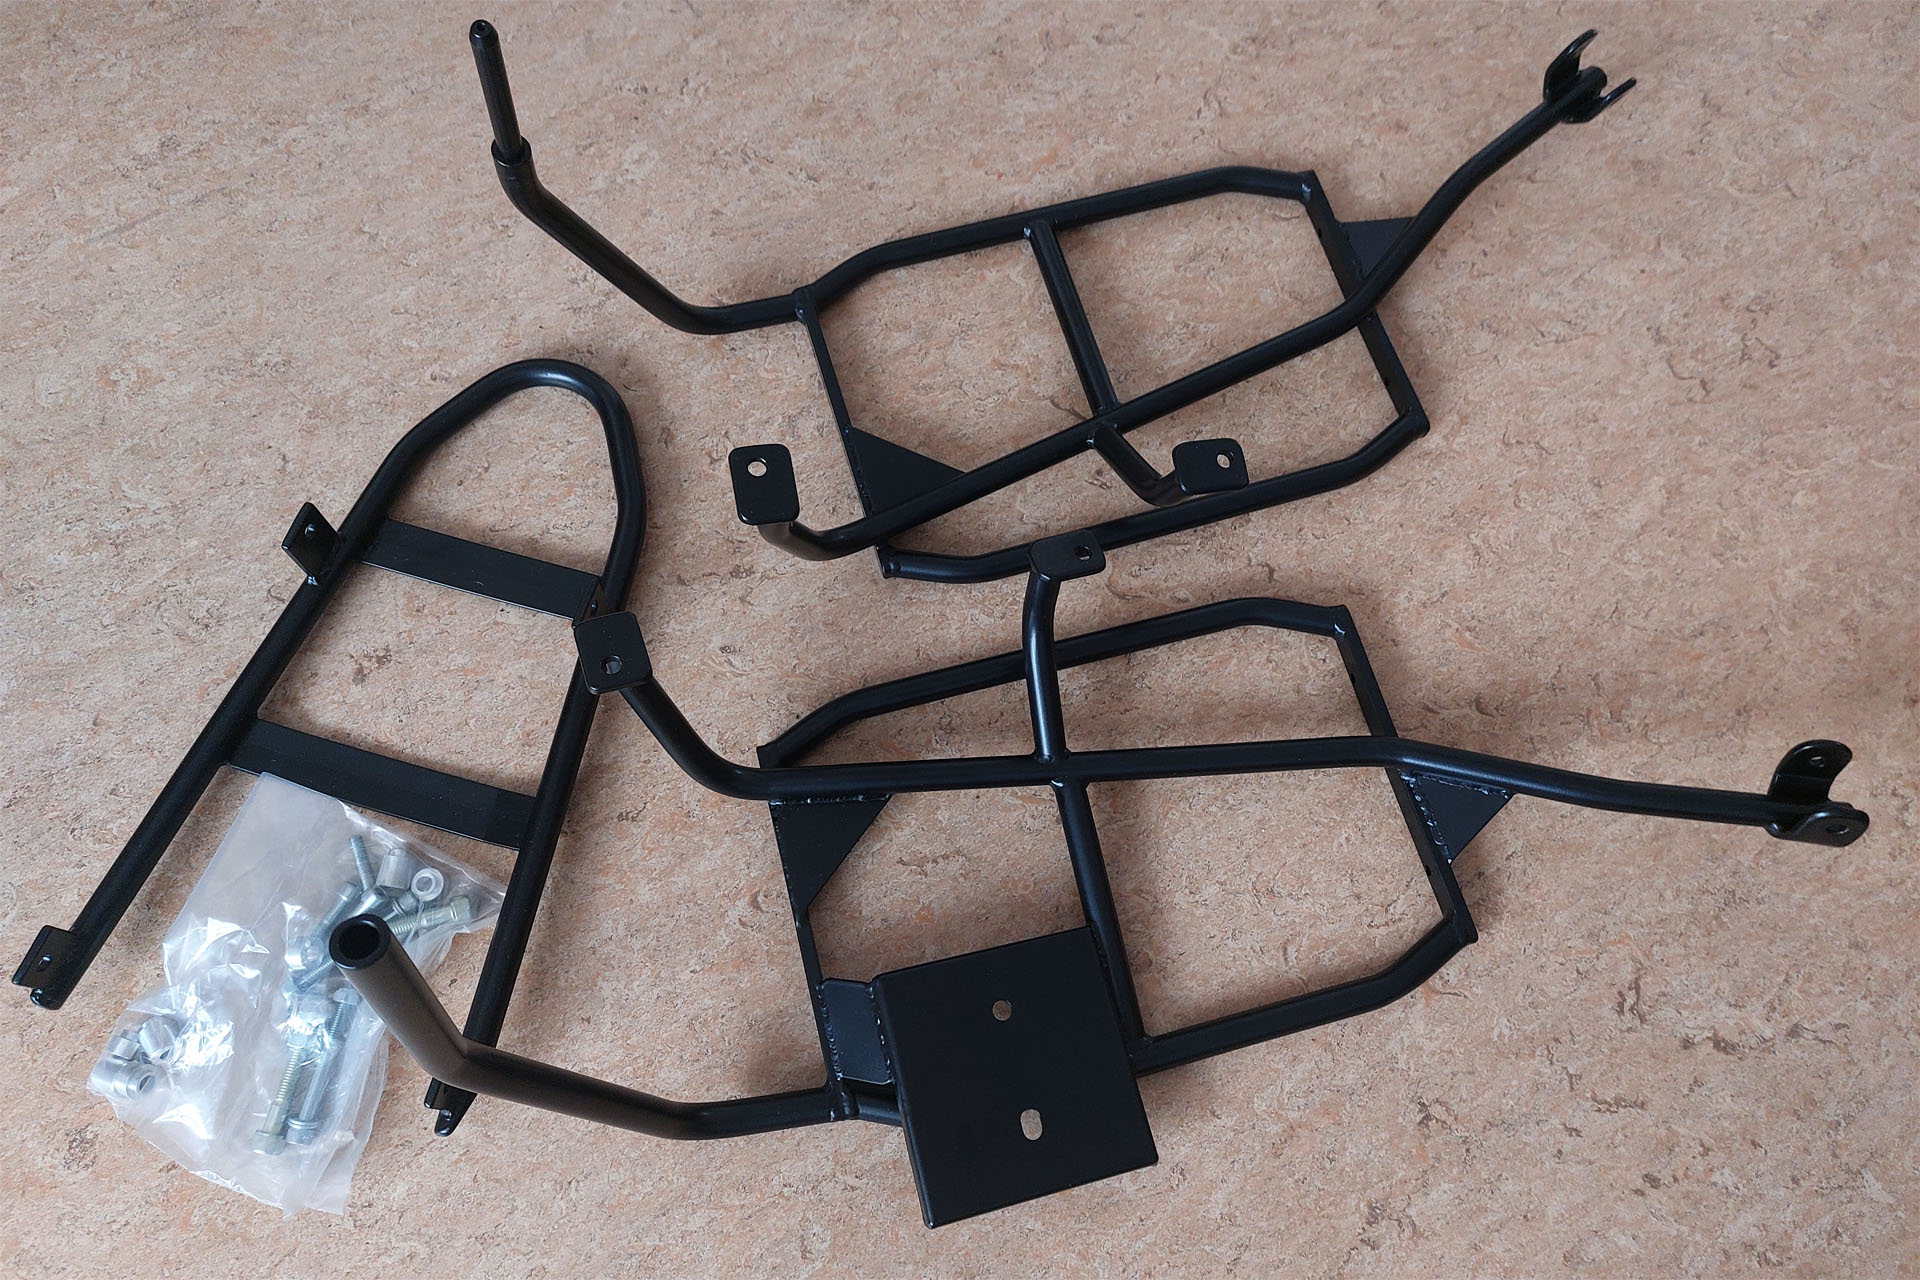

First of all – the new rack is a 3-piece construction to make it easier to remove it from the bikes. The panniers on the old rack were hanging really low and their centre of mass was also positioned quite a bit behind the rear axle. Sometimes that felt unpleasant. Especially when accelerating on a steep uphill section, we often had no pressure on the front wheel anymore and almost made wheelies. In extremely rough terrain it also happend, that the panniers got stuck on obstacles due to their low position.
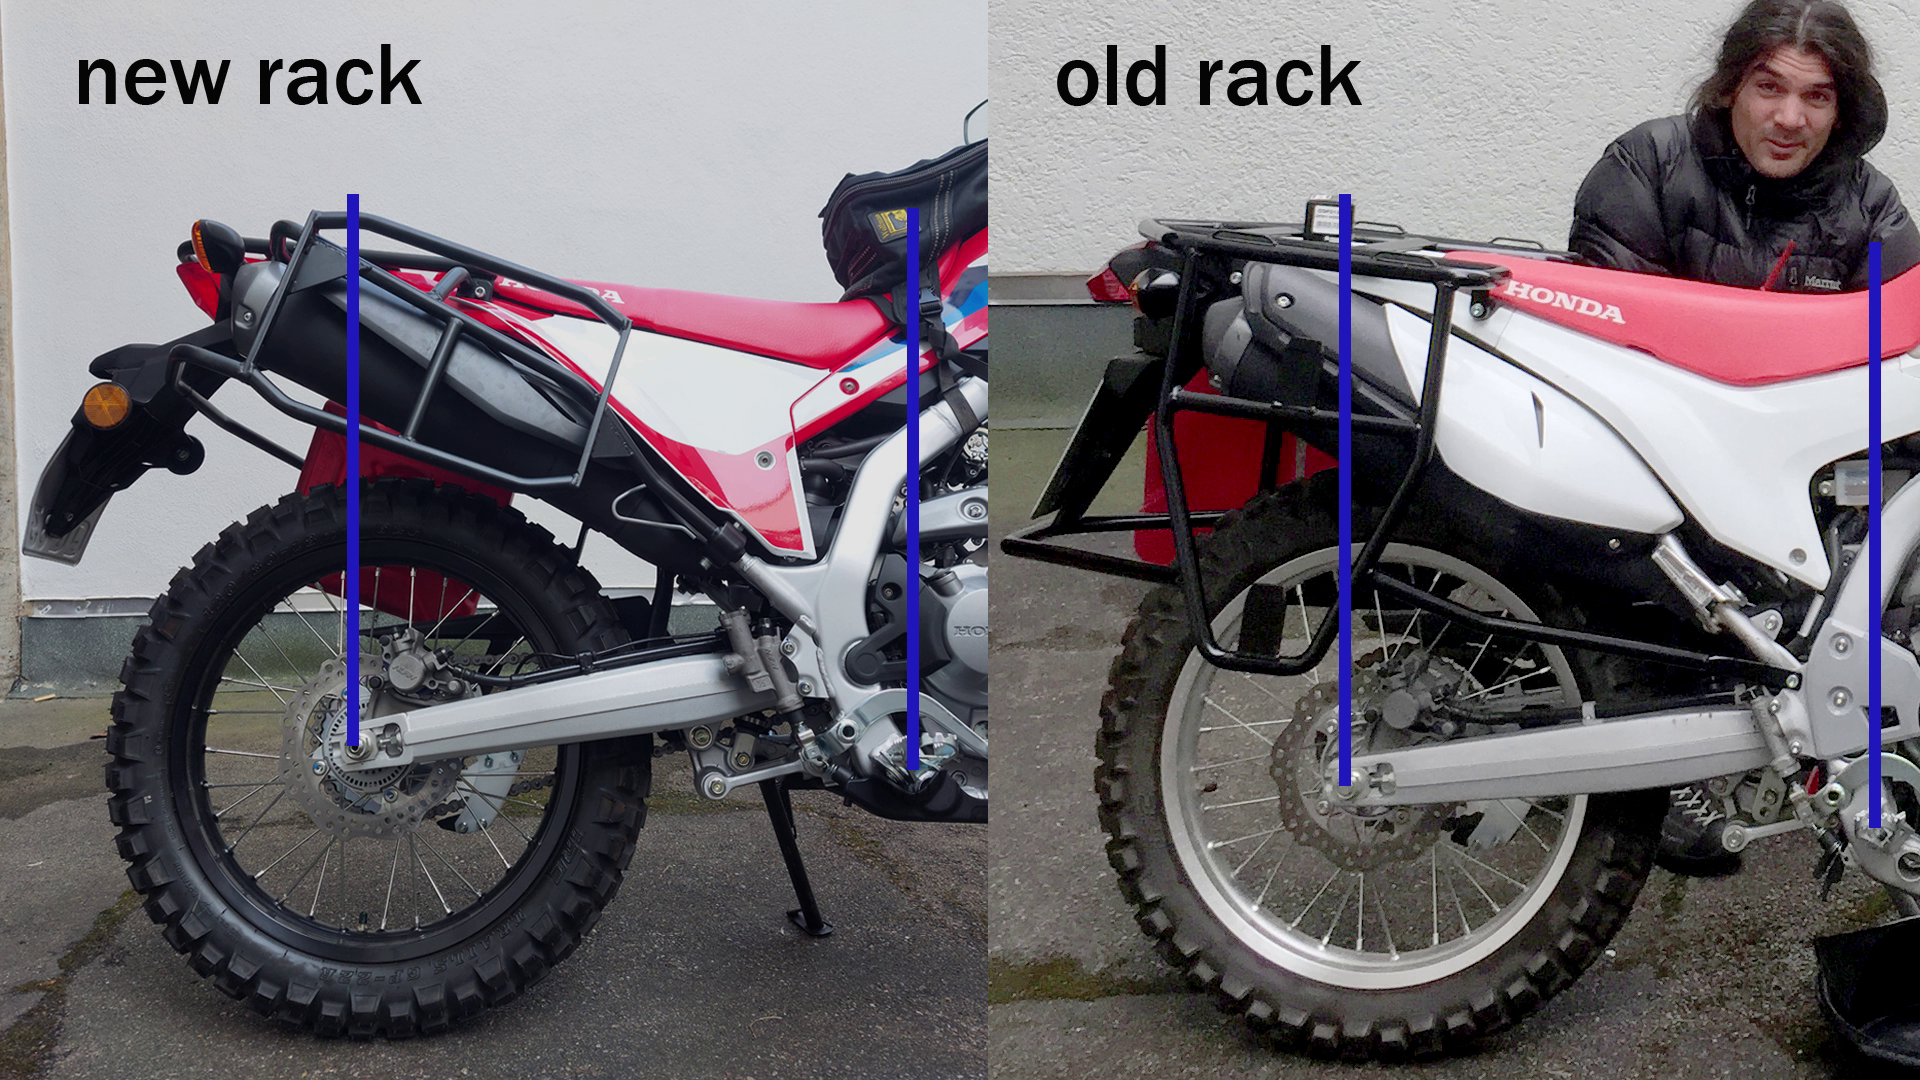
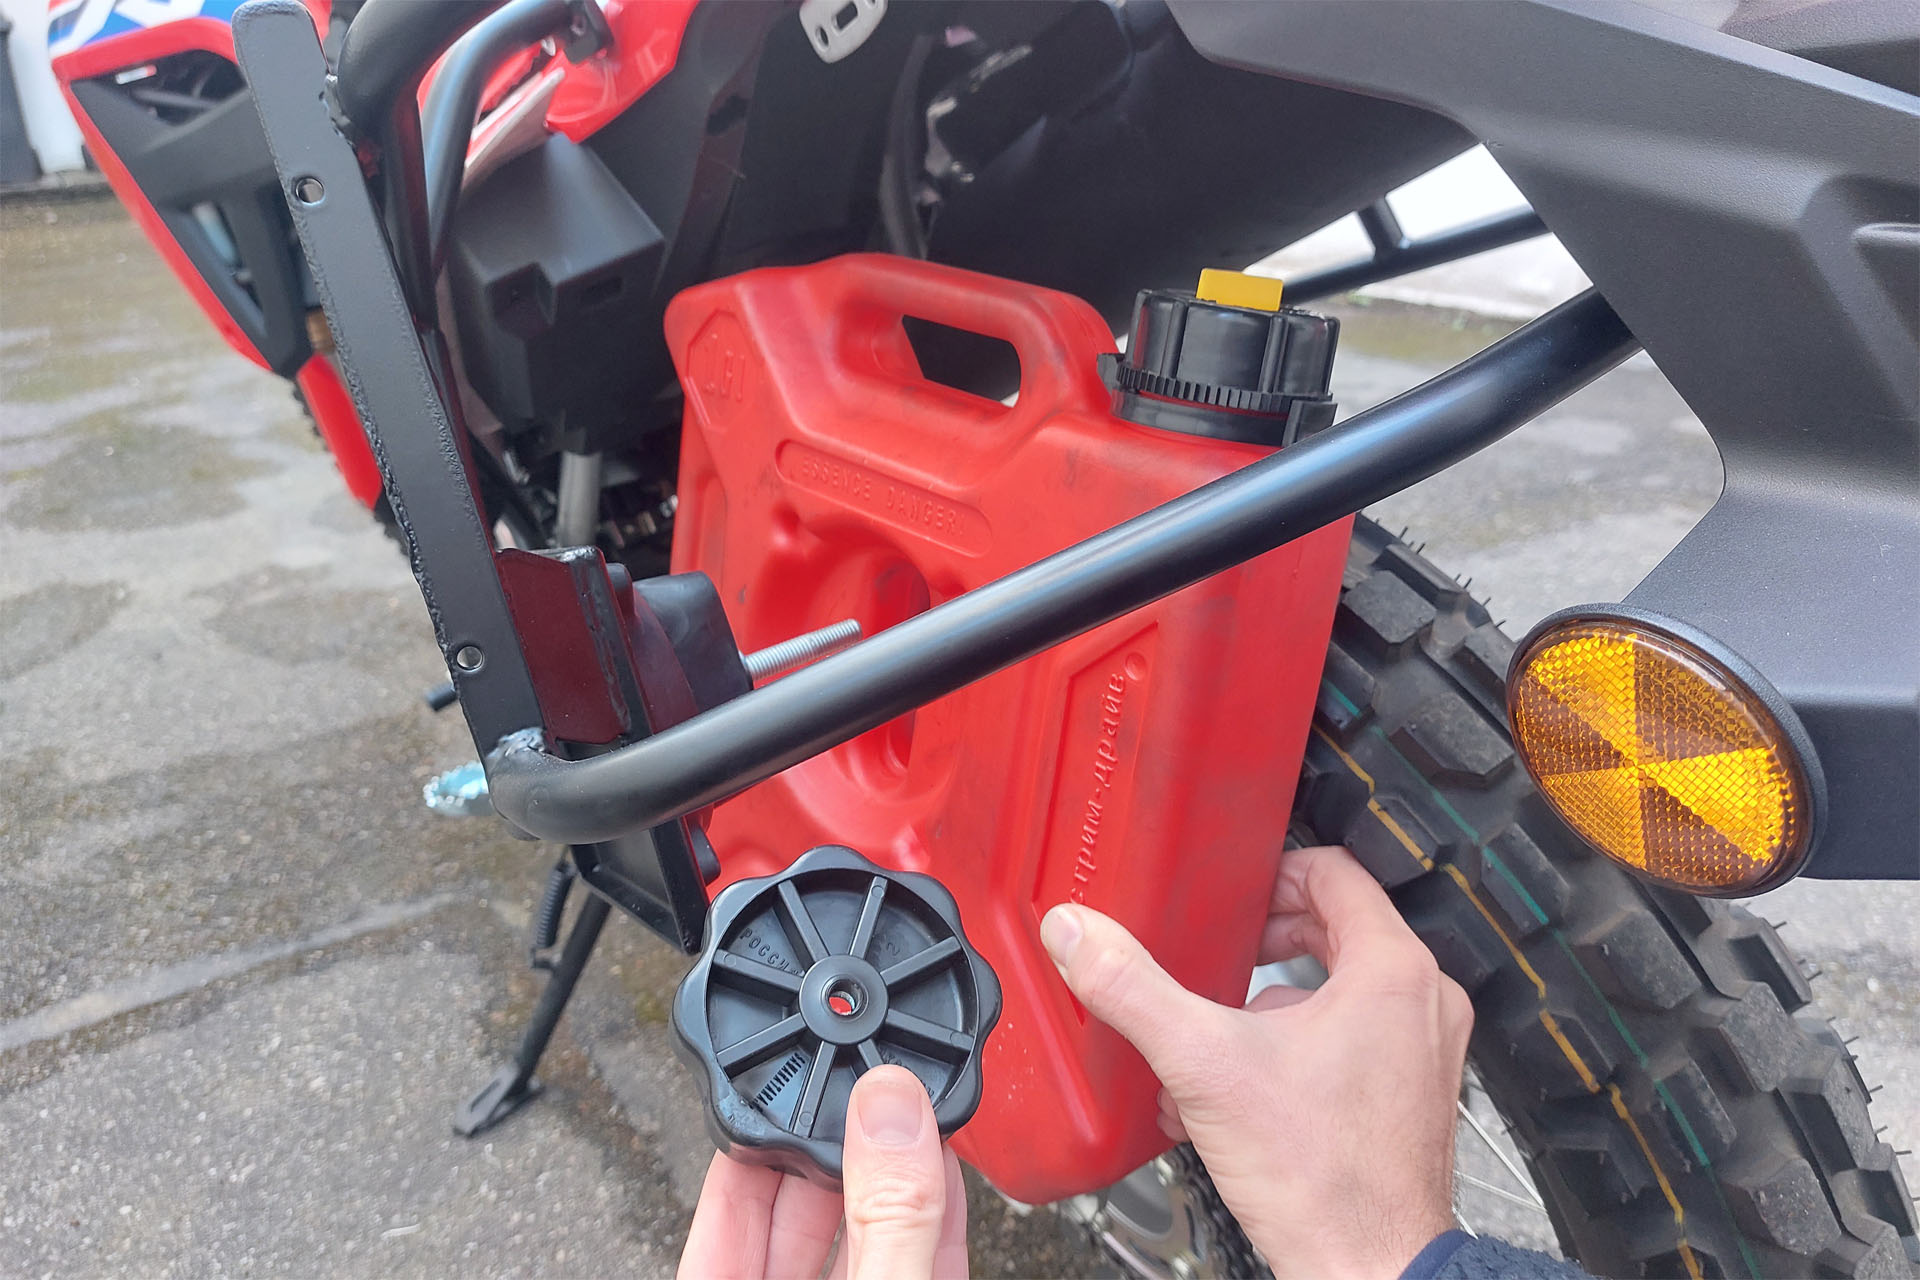
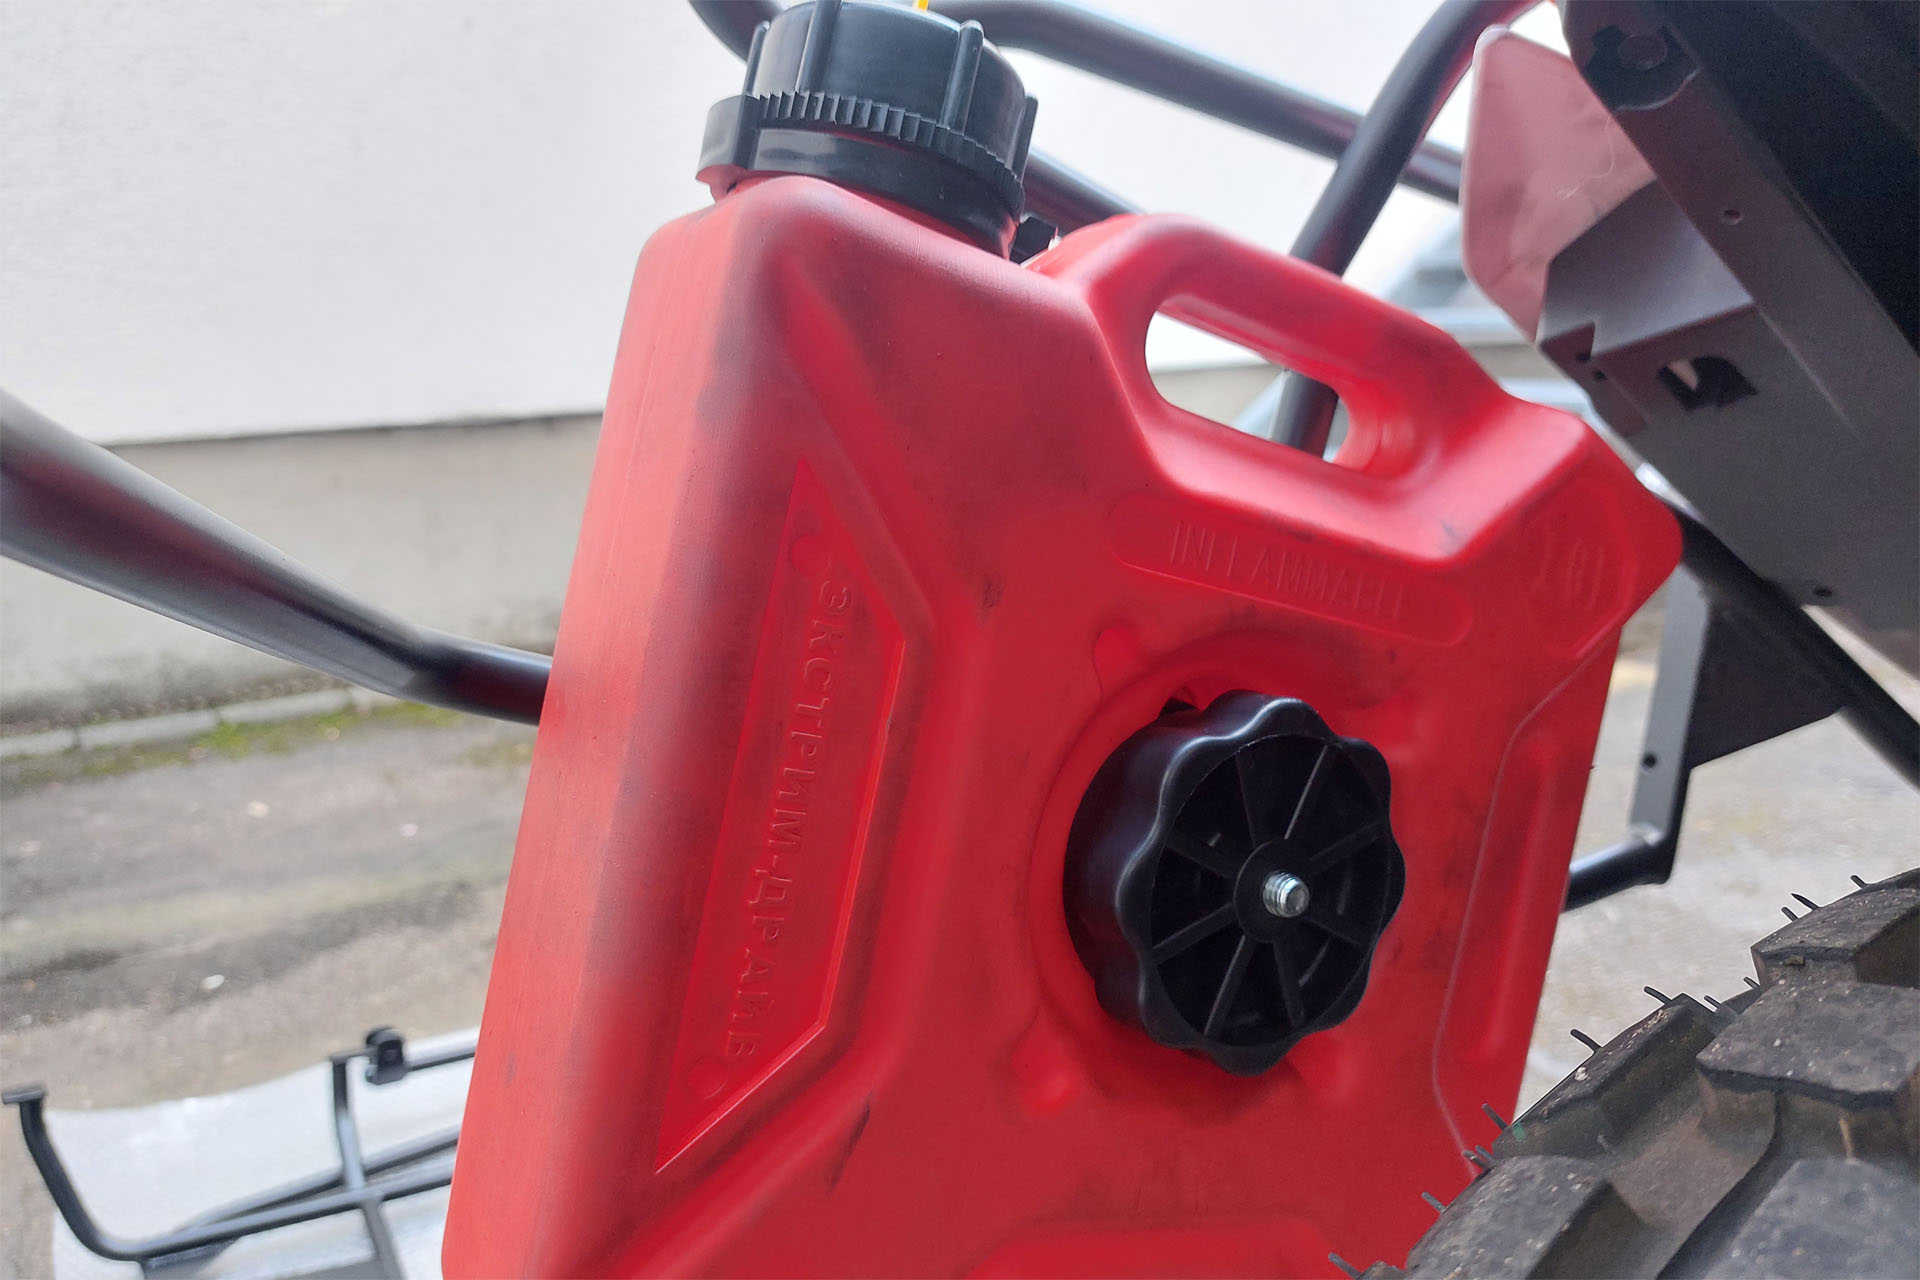
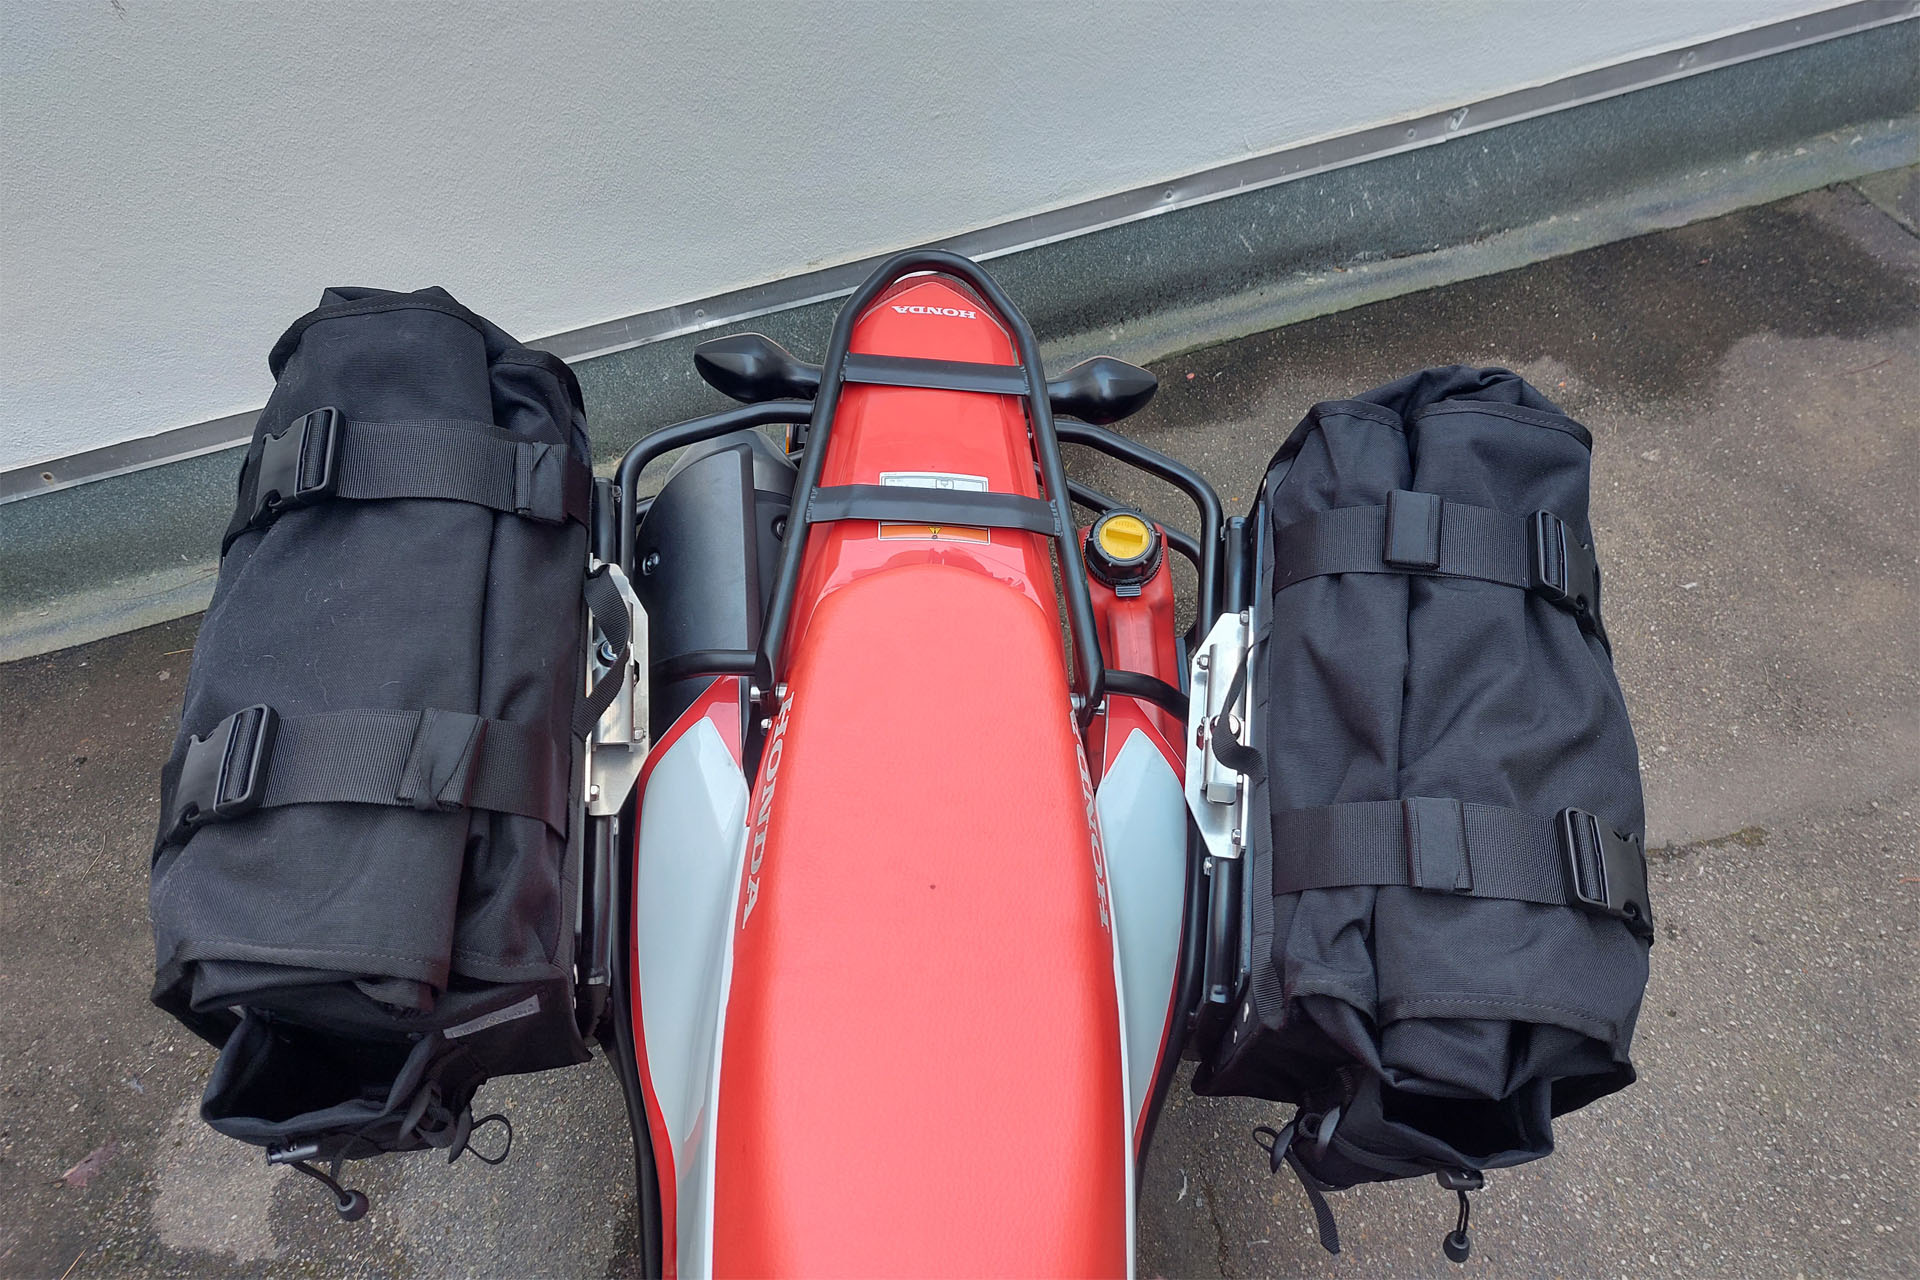
Therefore we designed the new rack to hold the panniers higher and also as much as possible to the front. Like that, we have the load more towards the center of the bike and it will handle much more comfortable. Here you can see the 2 racks in comparison. The blue marks show the rear axle and the rider foot peg positions. The mount and the weight of the spare canister is also situated more towards the centre of the bike.
The new position provides more ground clearance now and it will help to avoid colliding with obstacles, too.
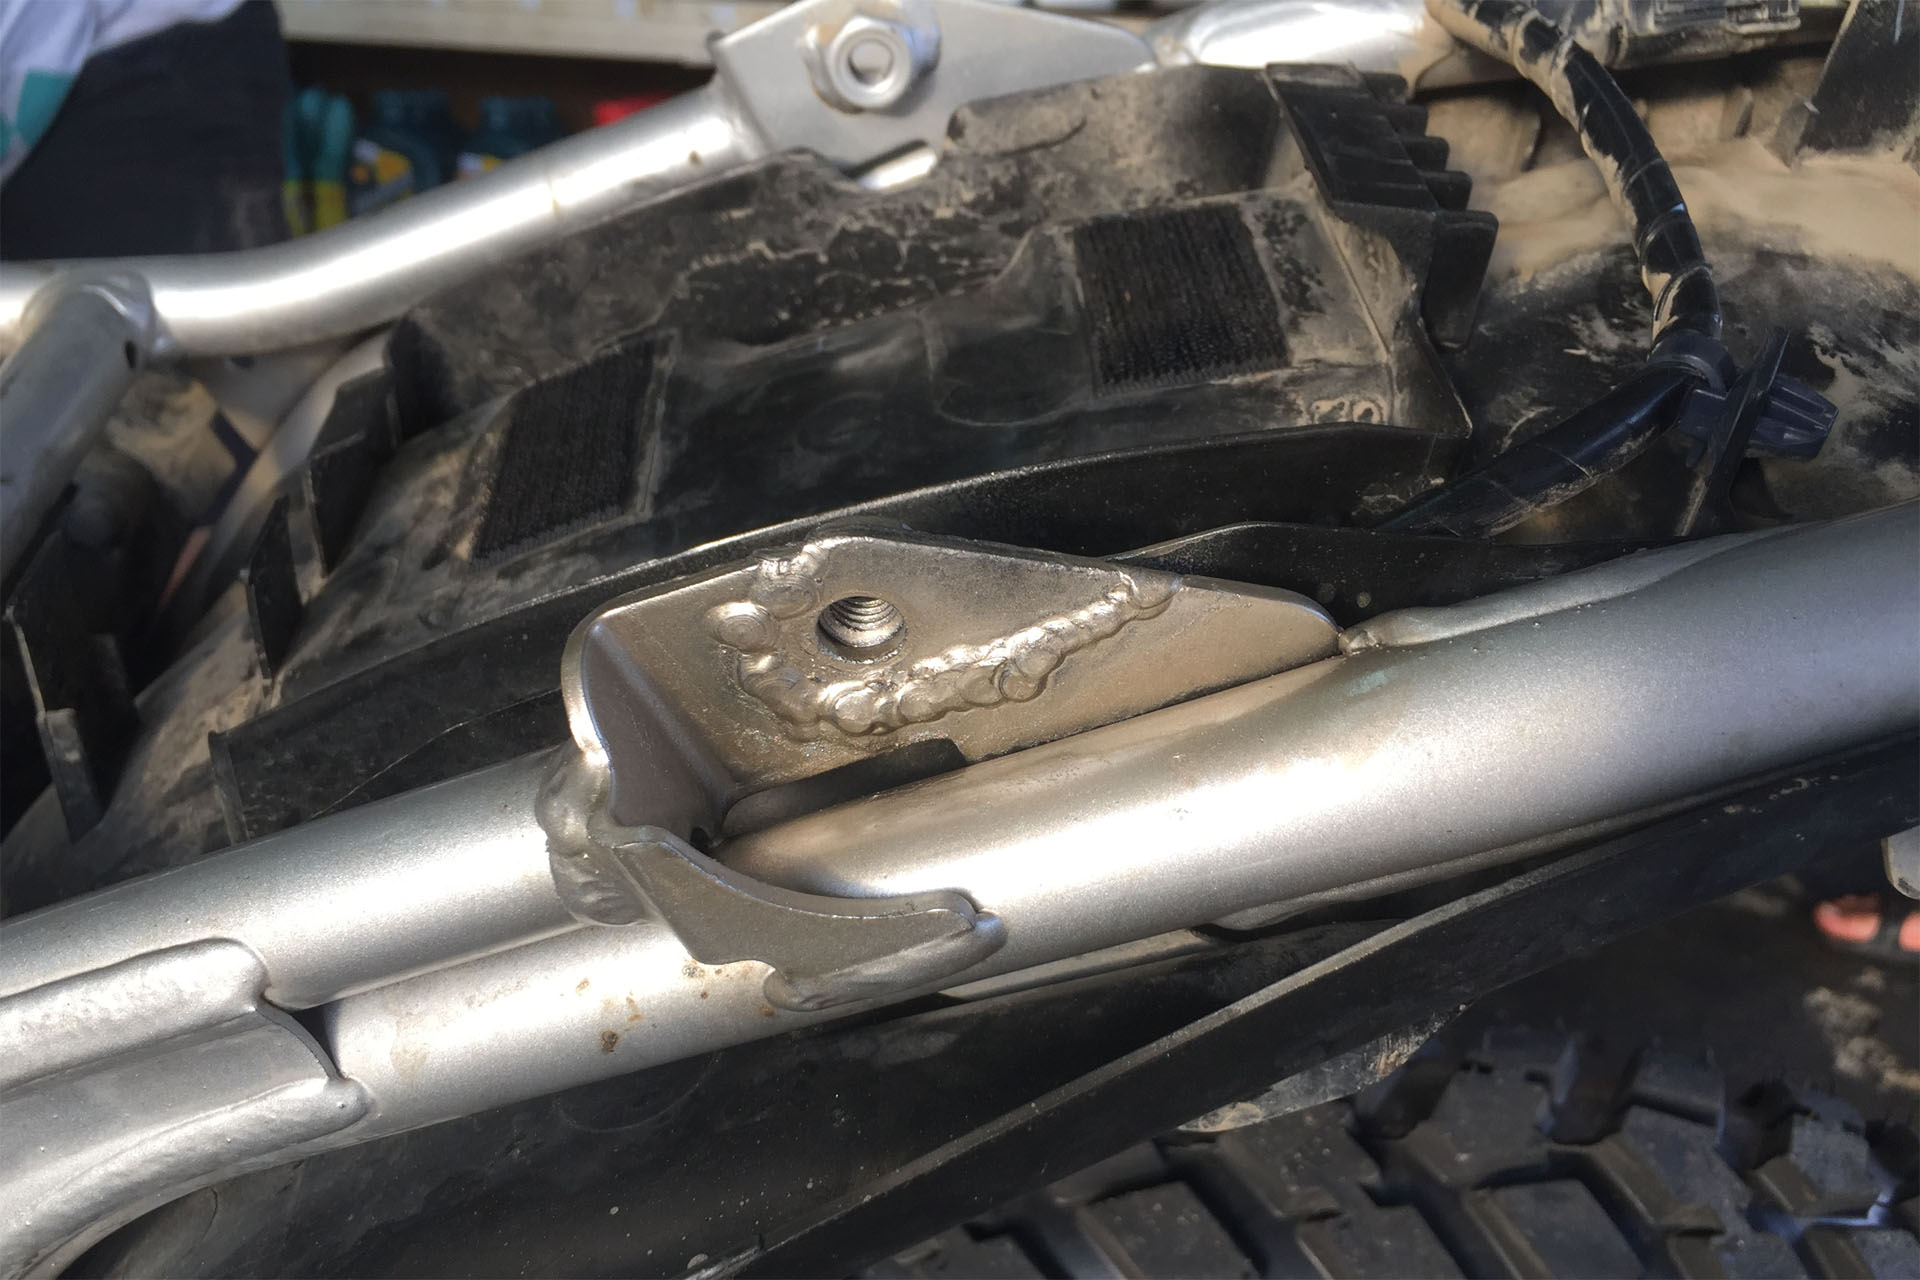
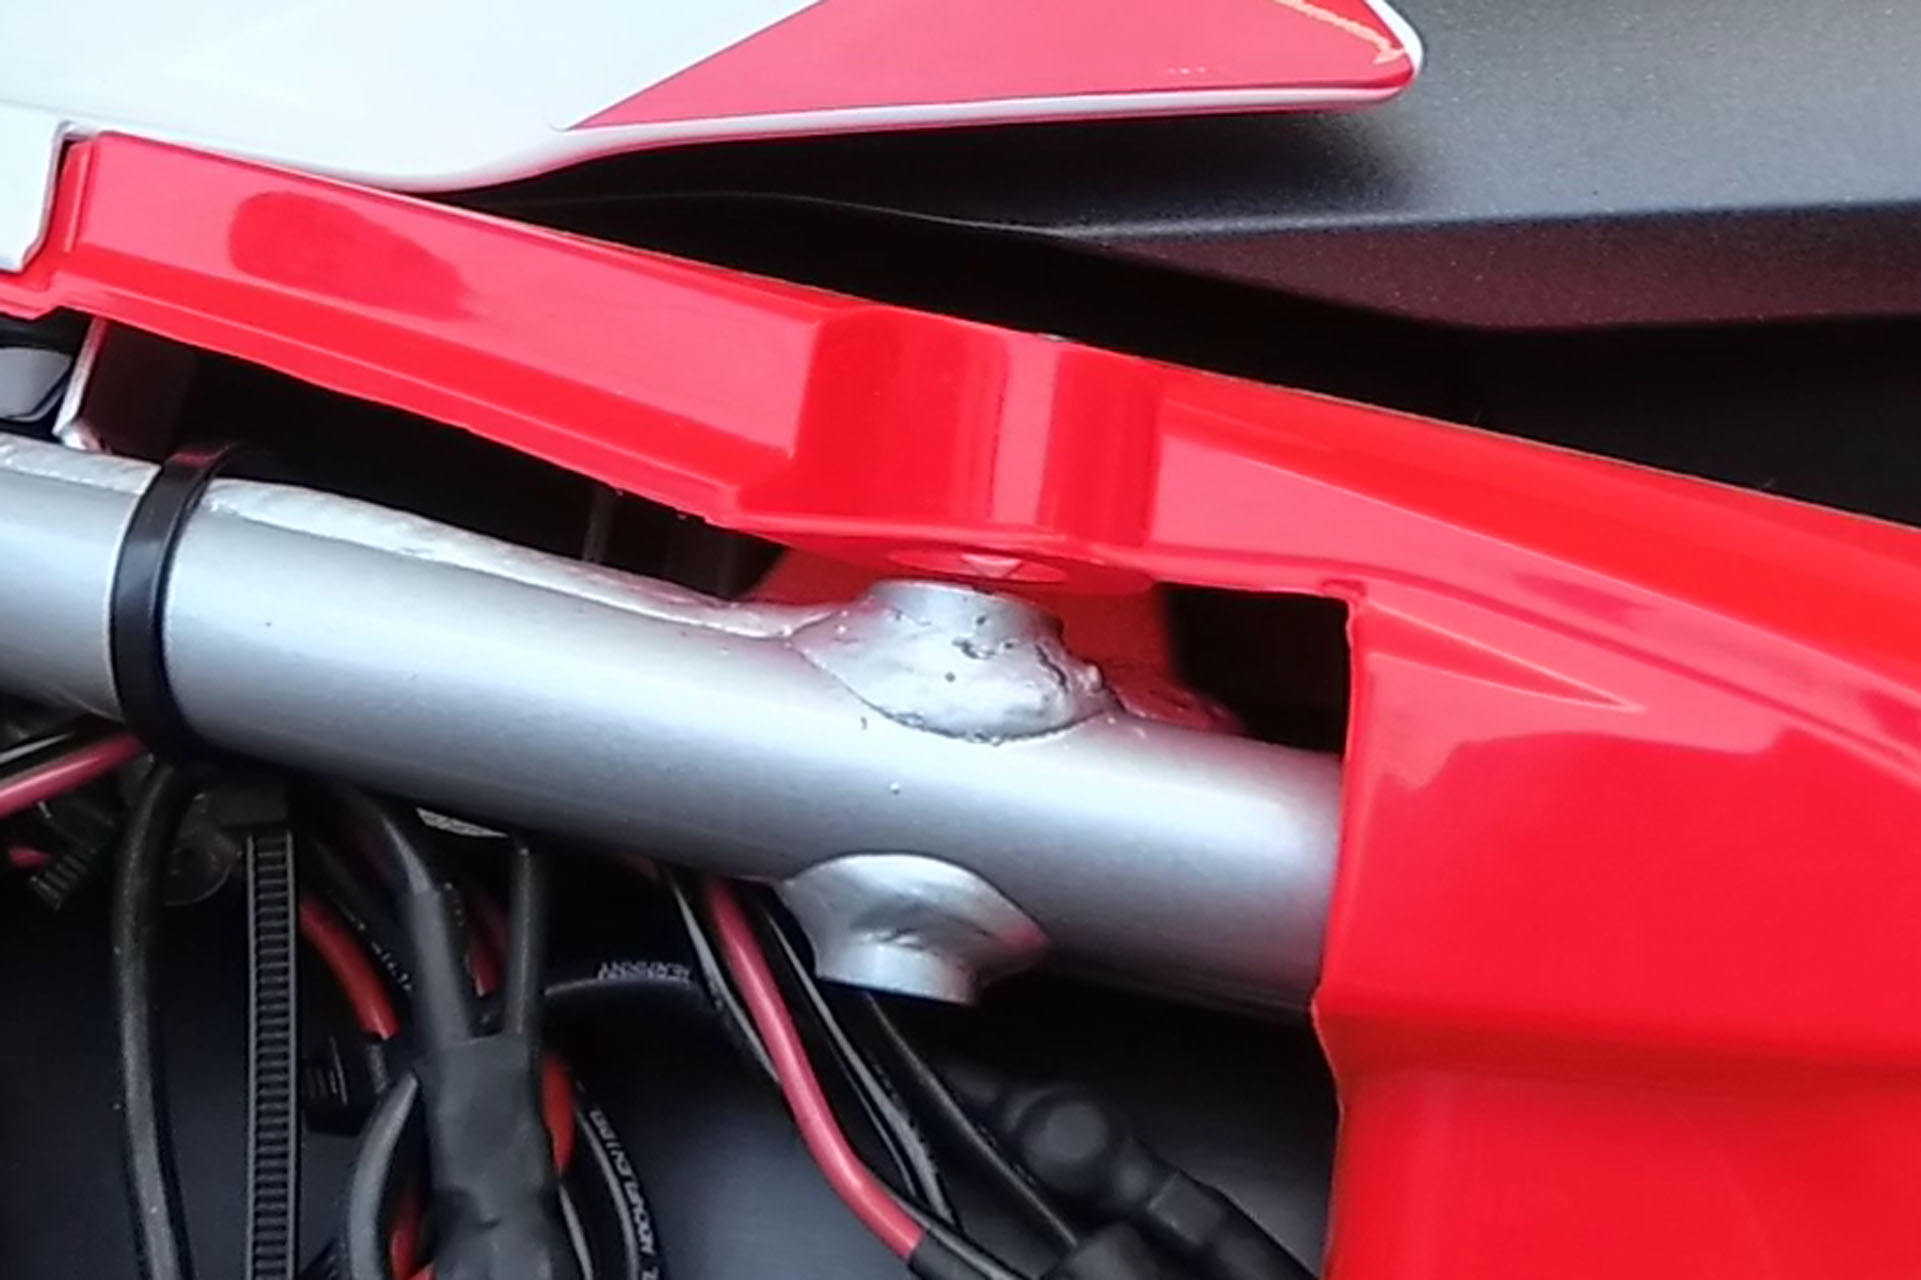
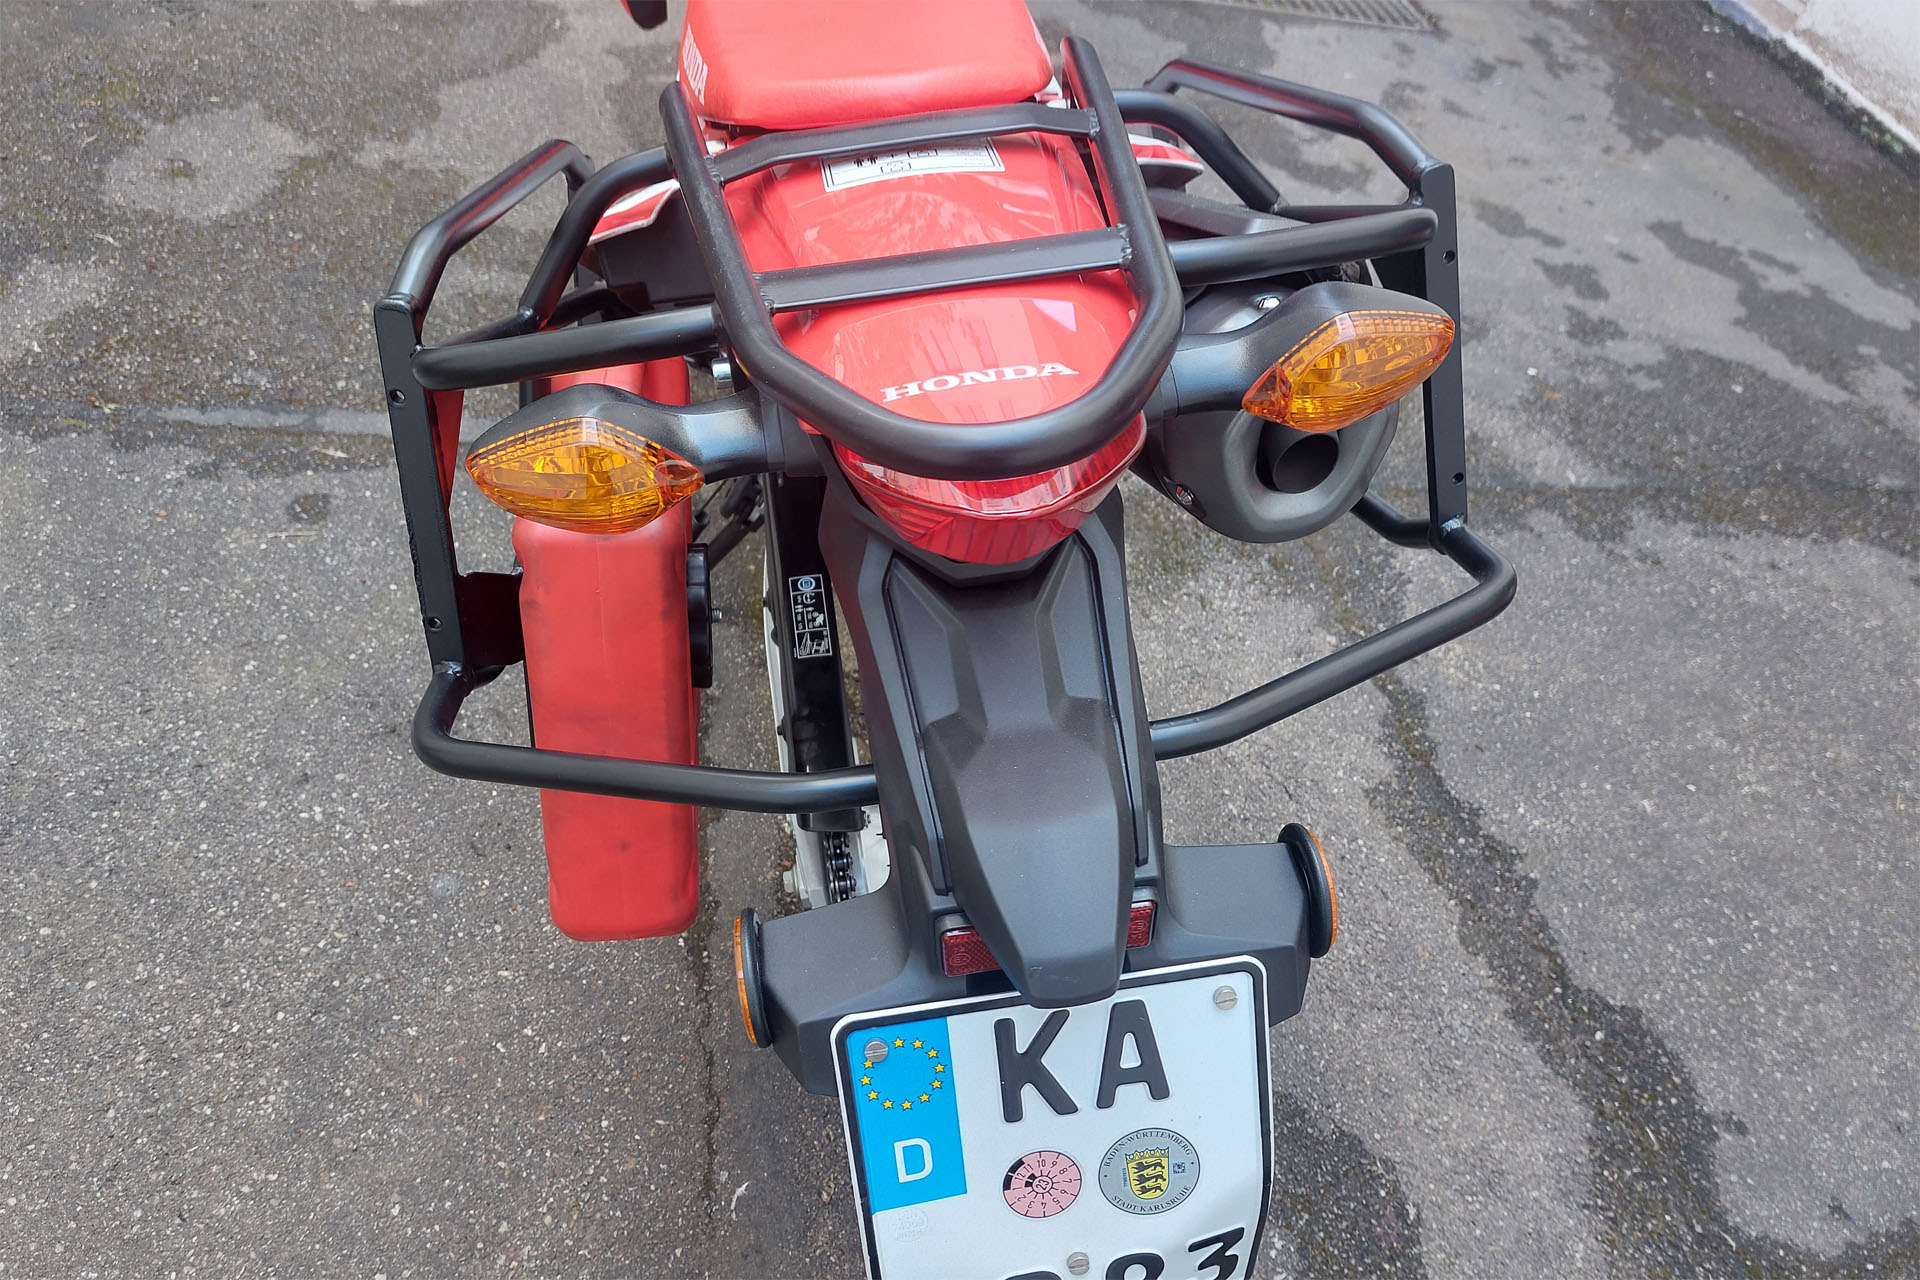
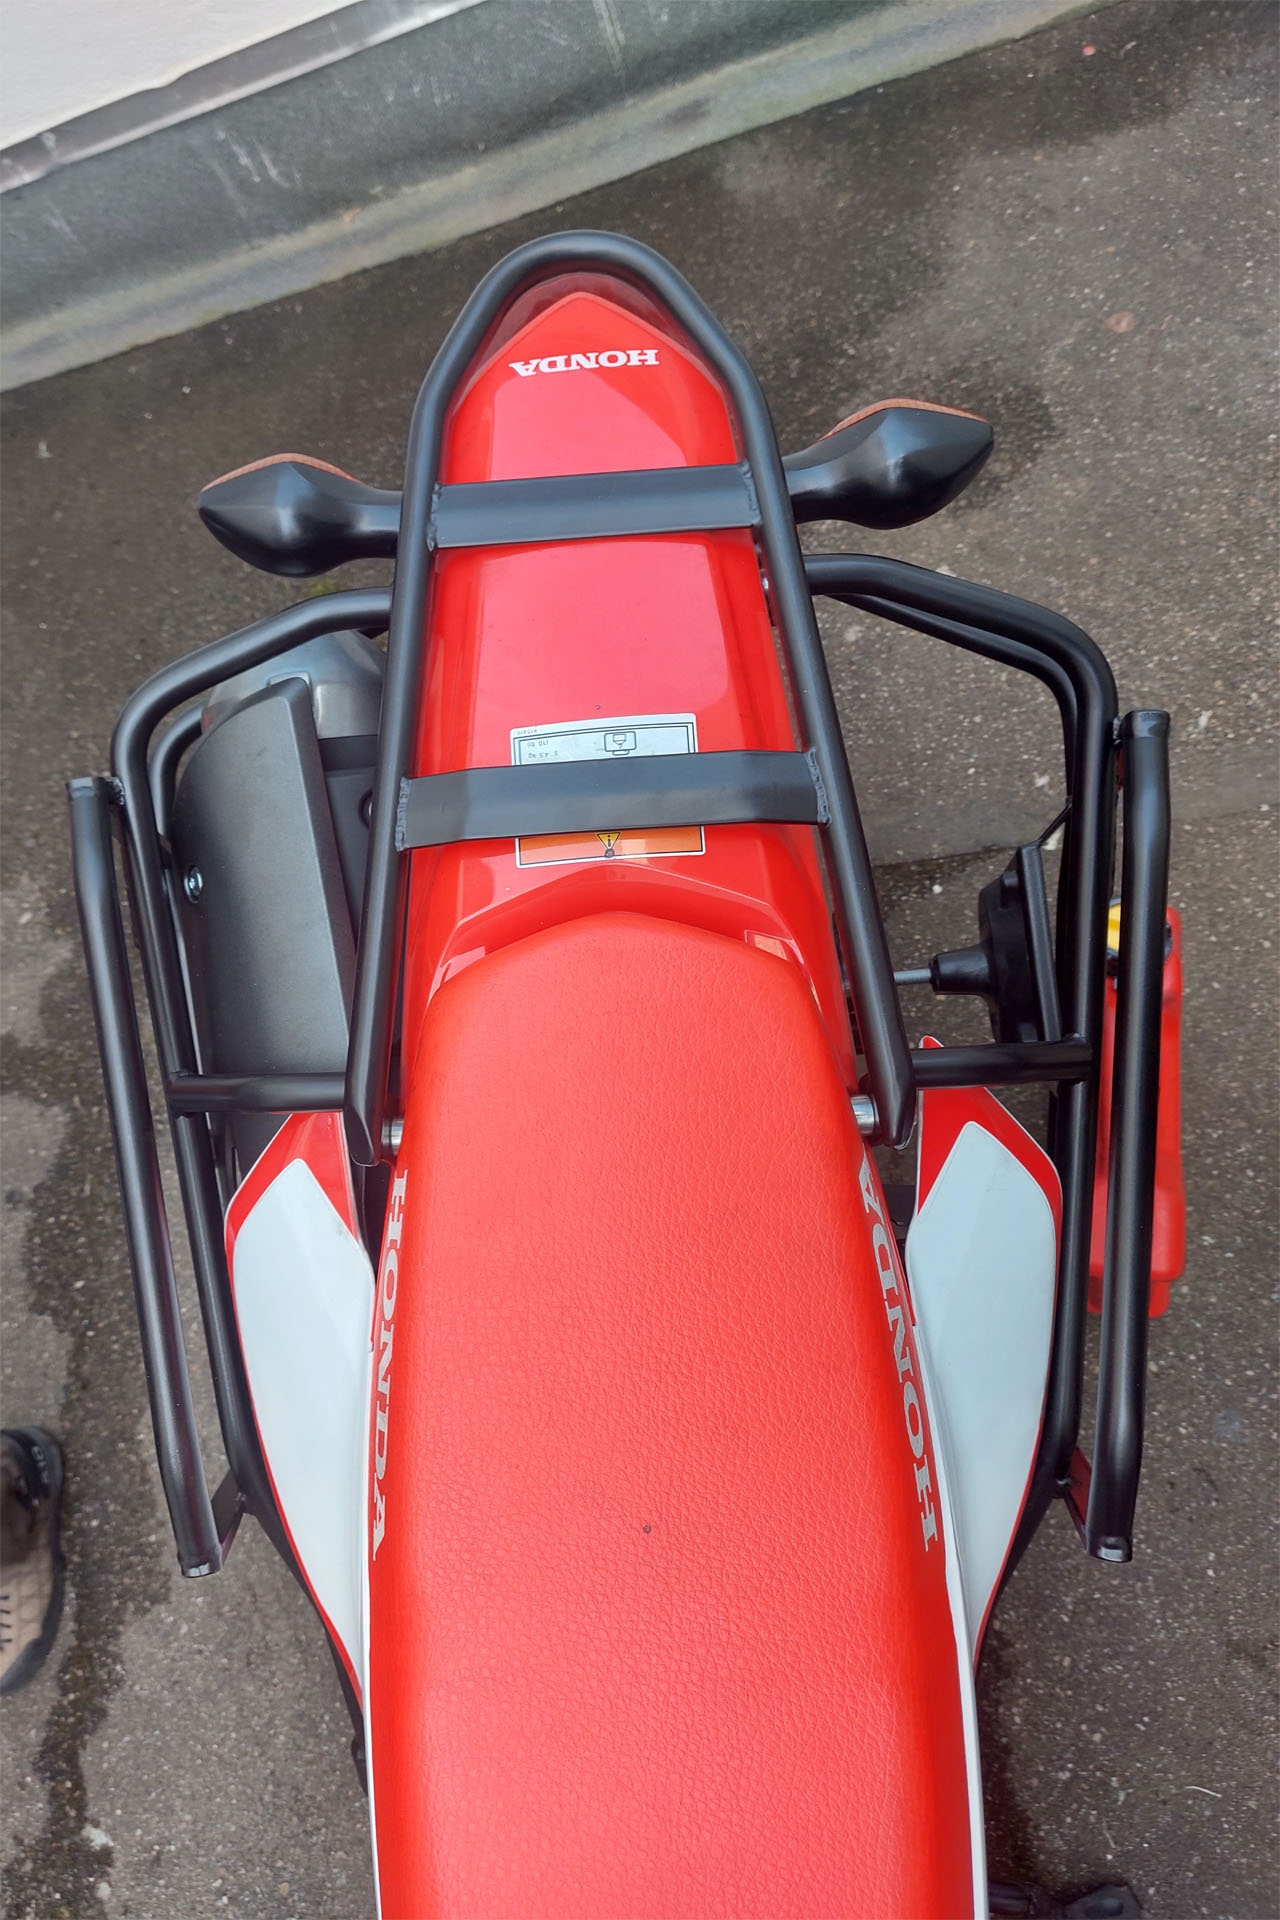
The new CRF300L subframe is not a bolt-on construction anymore, means it is welded to the main frame and this mounting point, that we used on the CRF250L, doesn’t exist anymore. Because of that, we decided to remove the passenger footpegs completely and used that spot for the main strut of the rack instead. The main strut is one piece and runs as close as possible to the fairing all the way from the rear mounts to the spot of the passenger footpegs. This strut transfers most of the load to the main frame to minimize the stress on the subframe.
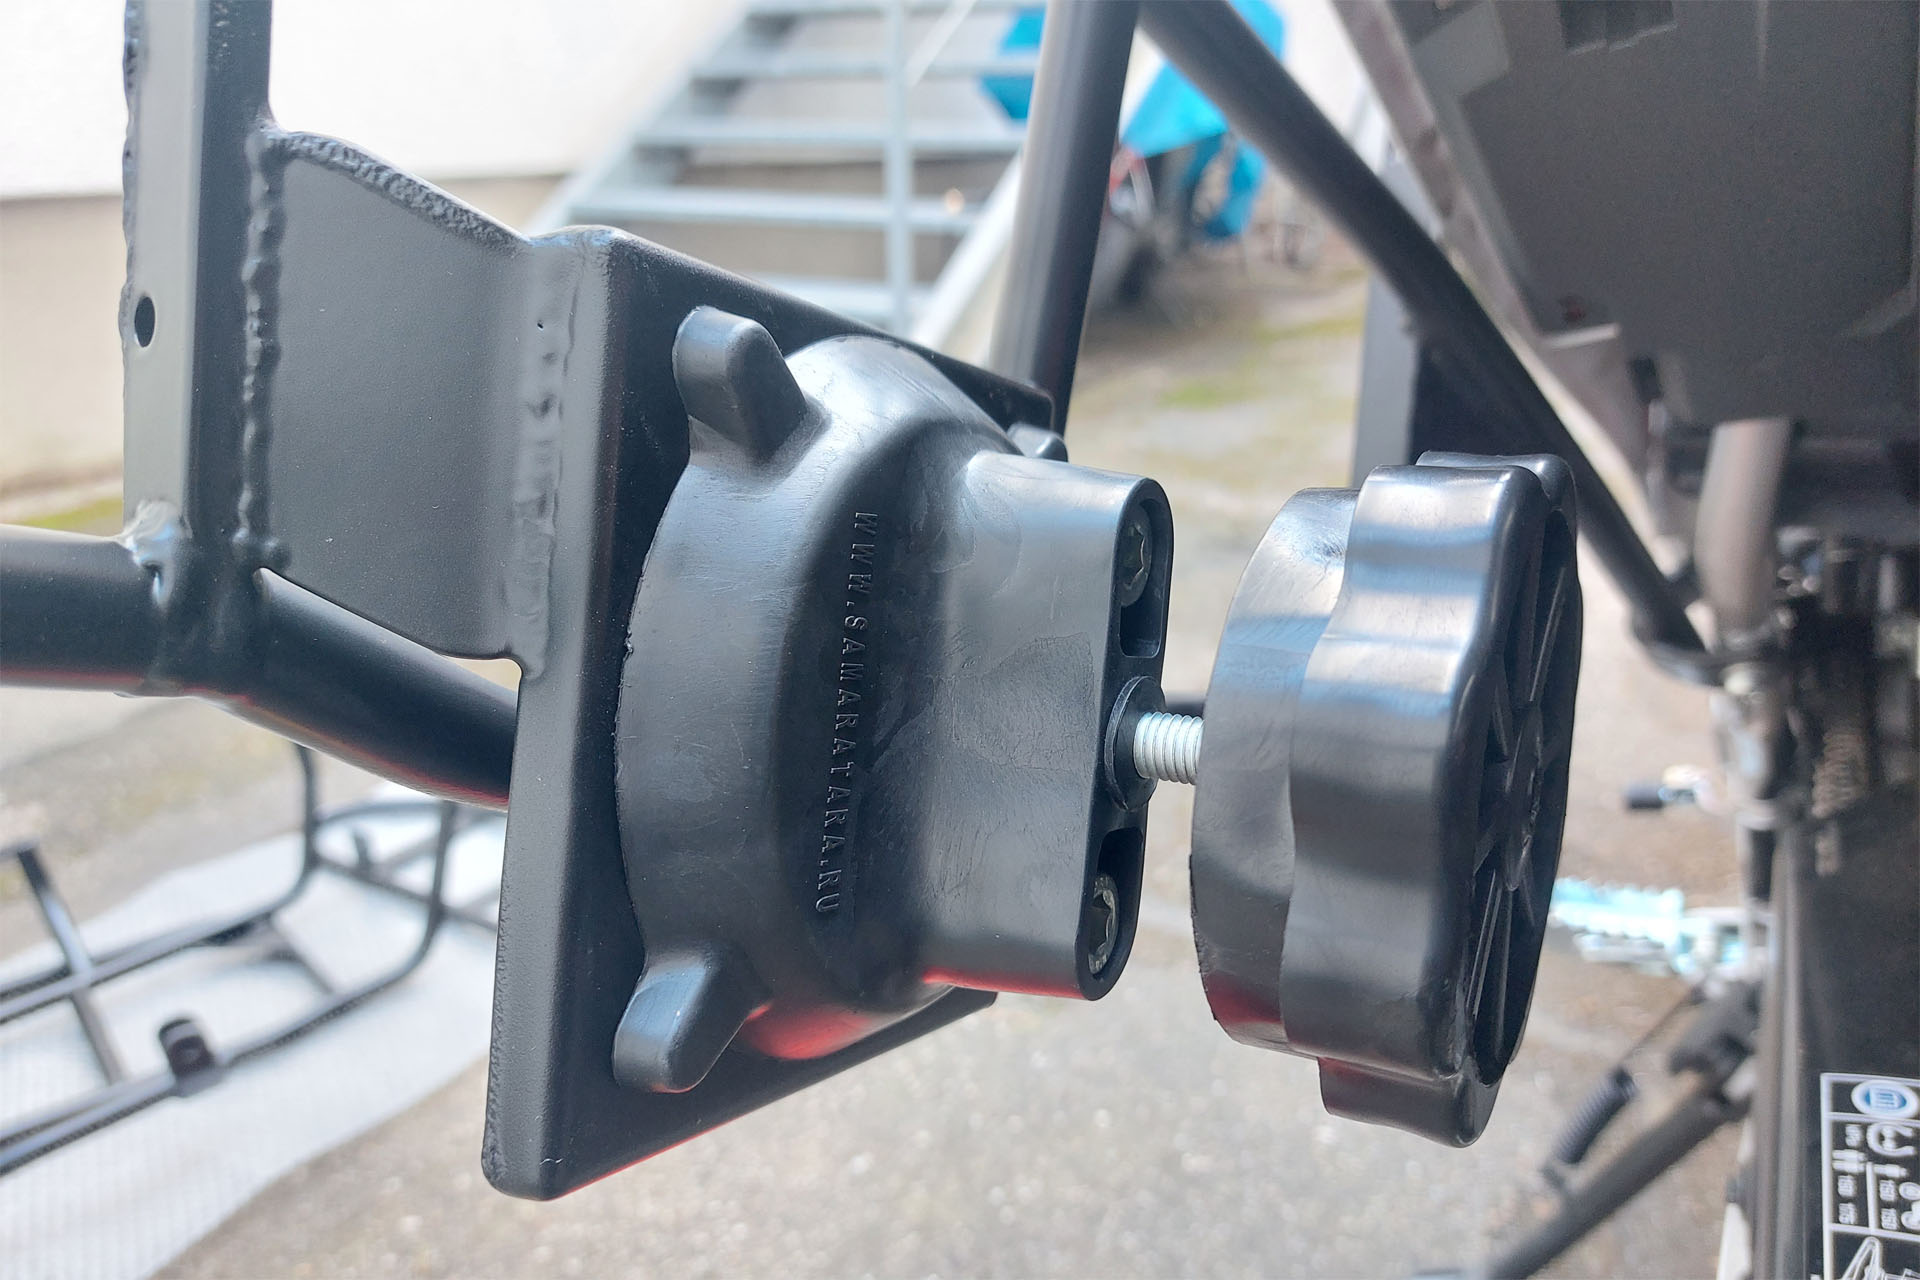
We made all mounting points on the rack much thicker, compared to the old one, to make sure, that they won’t break. The spacers are also not welded onto the rack anymore. We replaced the original spacers with proper custom aluminium spacers.


hello, where can I buy xtremada racks for the Honda CRF300L?
I’m looking on the internet and can’t find it anywhere.
greetings
Hi,
these racks are custom racks designed by ourselves. There are no commercial Bumot racks available for the CRF300L.
Hello, These racks look very nicely designed as well as strong, it’s a shame they aren’t available to purchase as they look to be amongst the best available worldwide. The pannier bag choice looks equally capable – well done!
Thanks Mark, we had a few people asking already to purchase these racks. Unfortunately, our welder is not able to produce these racks for sale.
Can you make a professional drawing with measurements of your rack, and sell the drawing?
It’s such a good design and the 300 is becoming so popular, I think selling the drawings would be profitable. Thanks!
Thanks John, we might think about that. However, we’d still need a manufacturer that is willing to produce these racks. In Germany it’s all about big bikes only.