Bike mods for the big trip

Compared to many other people, we tried to leave our bikes as original as possible. However a few modifications were needed.

Reinforce the subframe mounts

One of the most important mods that has to be done, we only realised after many thousands of kilometers. Our rack perfectly shifts a big part of the weight towards the mainframe, but there is still quite some load left on these rear frame mounts. Especially the front ones simply consist of a weak sheet plate. After all that stress, we were finally surprised that it lasted until Borneo on Miriam’s bike, before it was broken. Finally in Australia both sides on both bikes were completely broken.

Luckily Australians are extremely hospitable and we met Trevor, who repaired and reinforced our mounts, although he didn’t have proper welding tools. Therefore the welding seam is not nice, but this mount is still the last thing that will snap on our subframe now.

This is definitely a mod, that should be done on the CRF250L as soon as it gets heavily loaded. Otherwise it is just a matter of time till these sheets snap.

Lowering Miriam’s bike

Since the bike was a little bit too high for Miriam, we looked for a possibility to lower it. Instead of buying a completely new shock or an expensive lowering link, we found a solution in the internet, that is much simpler and cheaper. The lower shock mount hole has enough material above to drill a second hole. This is an easy and effective mod to lower the bike for a bit without any costs. We also adjusted the front fork clamping to the lowest possible position, of course.

After the bike is lowered, you have to cut the kick stand, too. This is a great chance to enlarge the small original stand plate. The bike will stand much easier on soft ground after that.

Modding the fork seals

It is nothing new, that upside-down forks start leaking every ones in a while. This happens even more often while riding offroad. Usually you can fix this issue by cleaning the seals. Some people use a little tool like “seal doctor” for that. However – it is cheaper and equal effective to make a tool by yourself.

We use a common plastic bottle to cut a piece of plastic with a small hook at the tip out of it. After that carefully remove the dust seals e.g. with a blunt knife. Take the little plastic tool and slide in gently backwards between the oil seal and the stanchion tube. After that move it forwards all around the stanchion tube. Oil and dust will come out and the oil seals should stop leaking after this procedure. If not – just repeat the cleaning process.

Since we do lots of offroad riding, our forks started leaking quite often and we were not in a mood to clean them every few days. So we finally put some open-cell foam between the dust and the oil seals. This simple trick helps a lot and our forks are almost not leaking anymore at all.

Miriam’s bike still has the first fork seals and Tobi’s bike the second set installed after ~85000km. So you don’t have to replace your seals all the time as soon as they start leaking. Bear that in mind when you bring your bike to a service dealer and they want to replace them immediately.

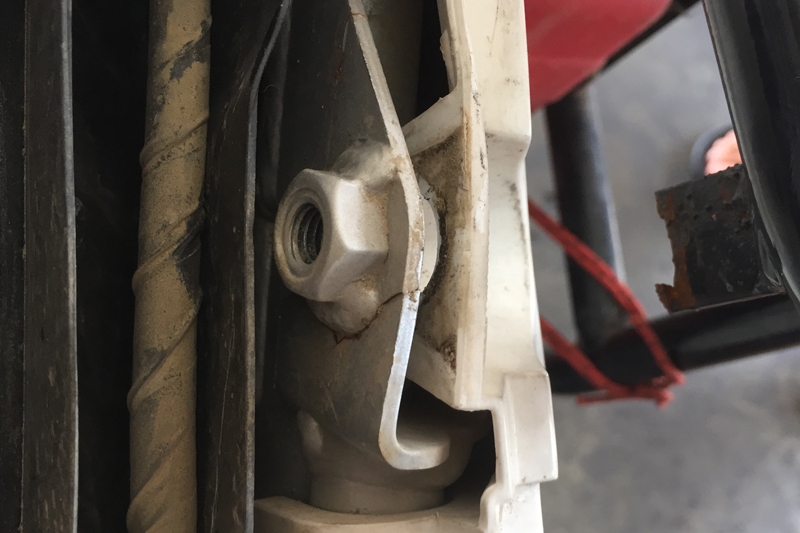
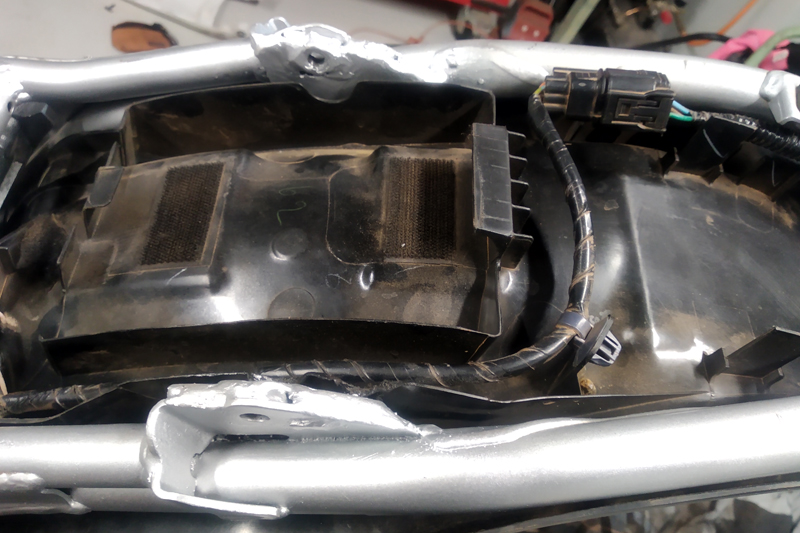
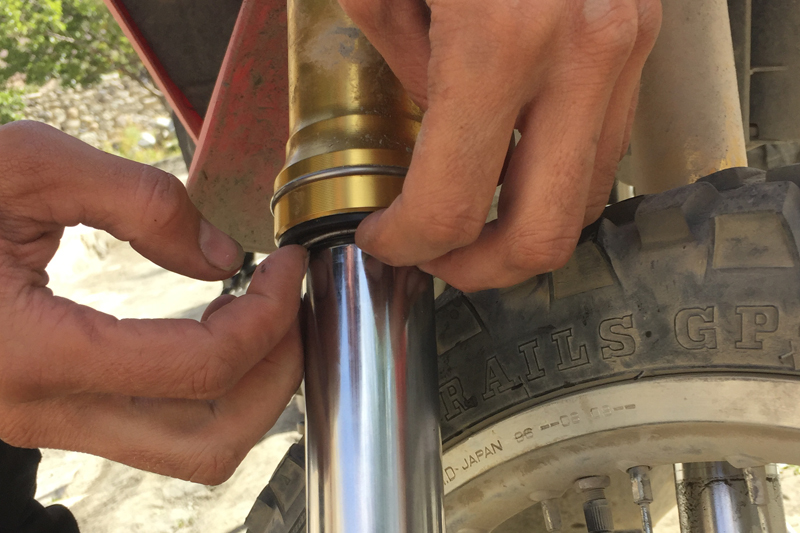
Inspection screws and foldable gear shift lever

Zeta inspection screws CRF250L

It can be quite annoying to remove the original inspection screws on the road without a proper tool. Therefore we replaced these screws with Zeta’s, that you can easily open with an Allen key. We also replaced the original gear shift lever with a foldable one to prevent it to break when the bikes topple over. The inspection screws are not a must, but the foldable levers should be replaced. The bikes will topple over many times.

Bigger tank + filter sock

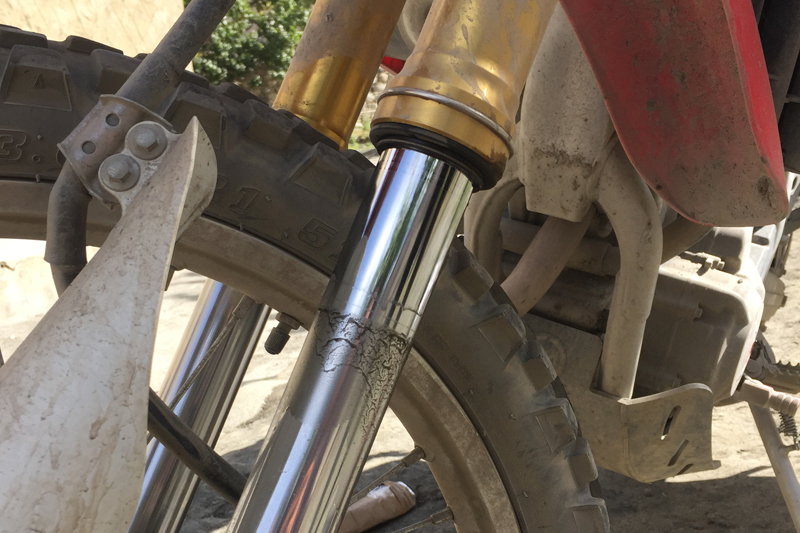
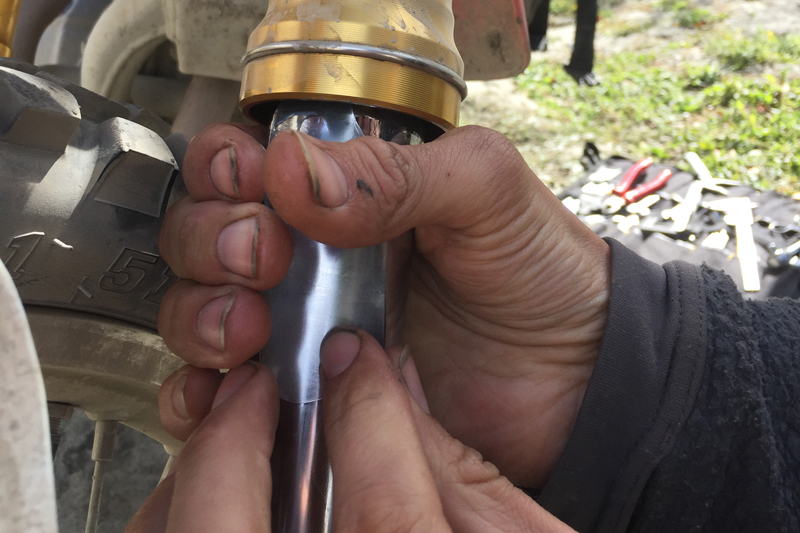
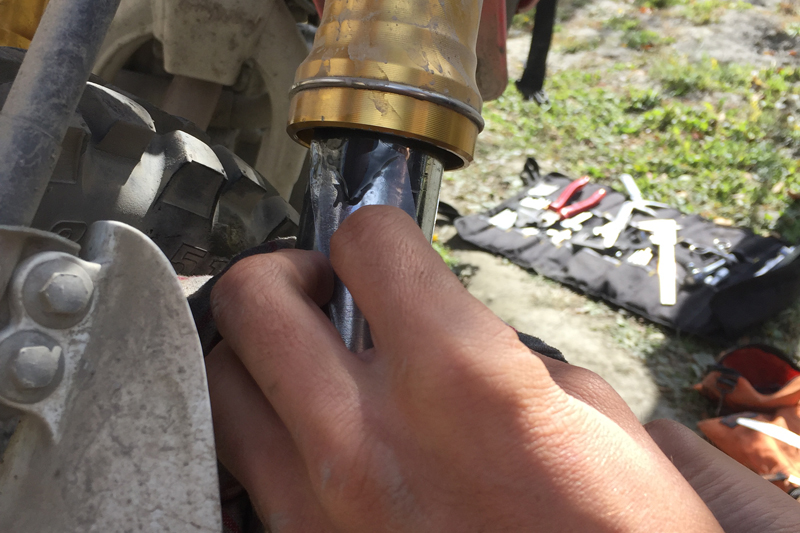
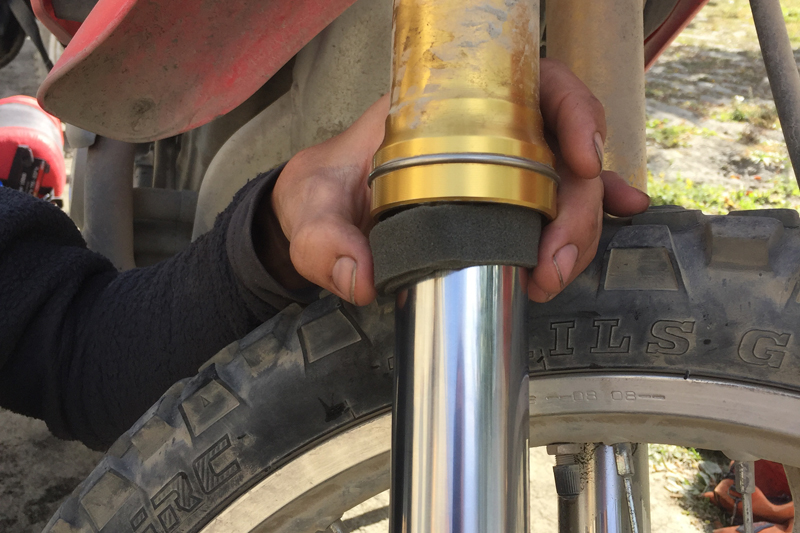
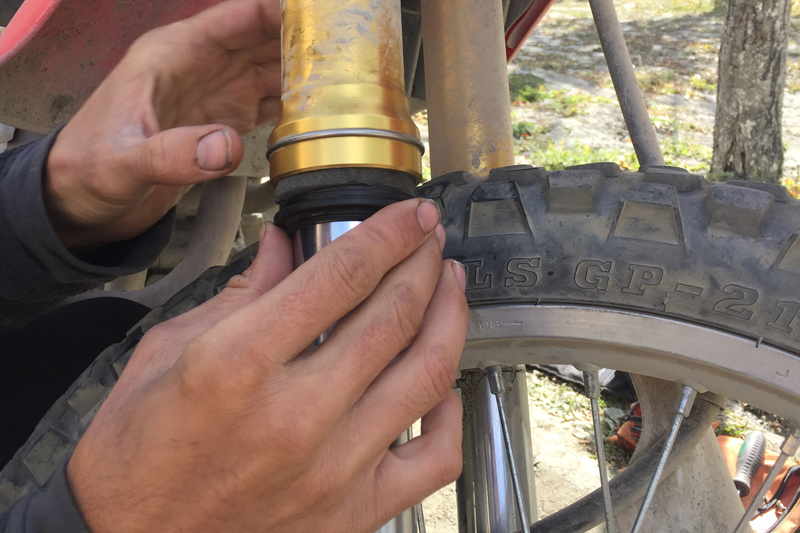
There are a few countries in this world, where you sometimes need a fuel range of around 450km (~280mi). The original tanks are way too small for that, so we had to replace them with bigger third party tanks.

CRF250L Acerbis tank naked 
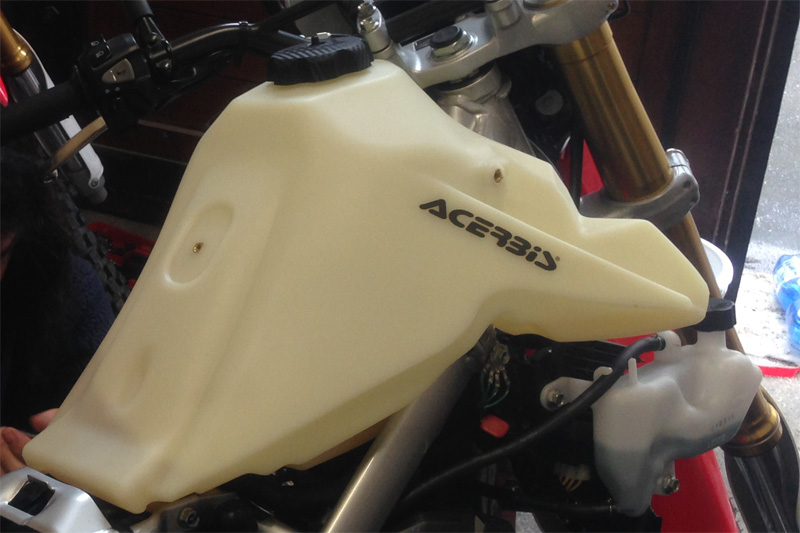
There are 2 manufacturers on the market that offer bigger 12,5 l (~3,1 gal) tanks – IMS and Acerbis. IMS is more common on the american market. These tanks are quite hard to find in Europe and are expensive. So we decided to buy two semi-transparent Acerbis tanks. They might be not as nice as the black ones, but you can easily see the fuel level from the outside and you don’t have to rely on the electronical indicator.

These tanks increased our range to 250km – 350km. Including our spare Rotopax canisters, we can safely reach 450km.

CRF250L Acerbis tank + plastics
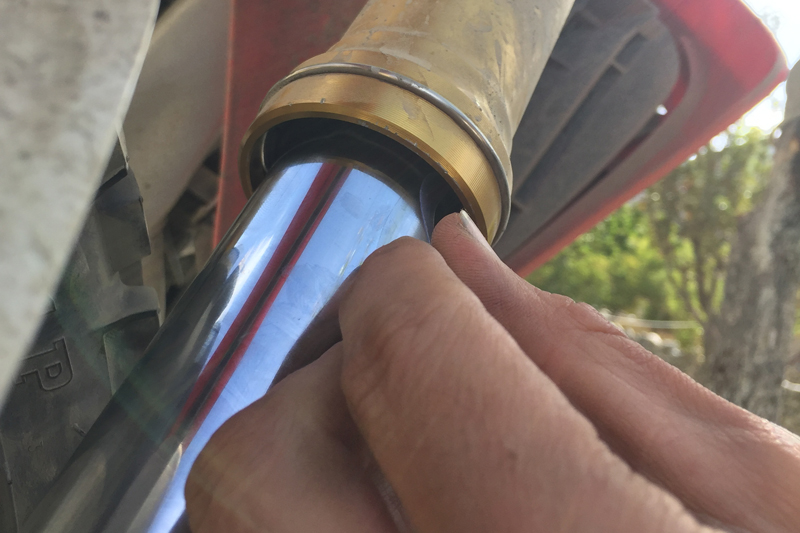
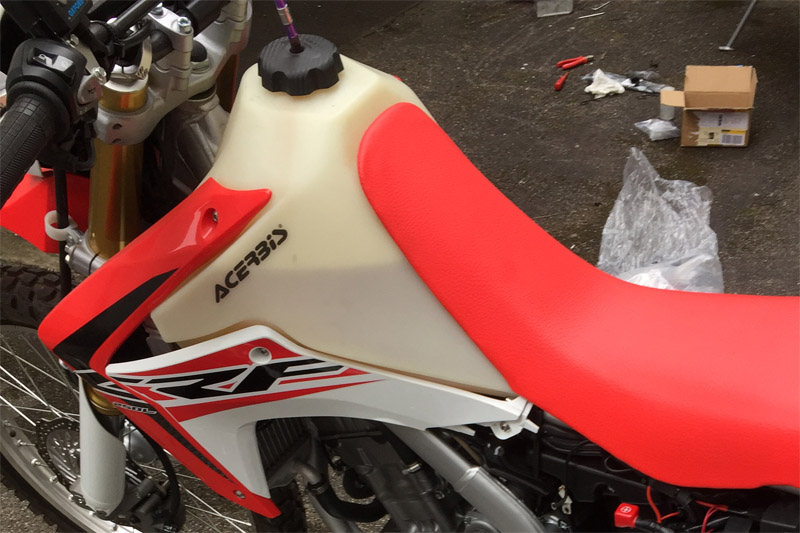
In general the installation is easy. Although it needs some effort for the first time to get the plastic parts back into place, because the new tank is much wider. As soon as the plastics get stretched after a while, it’ll be much easier.

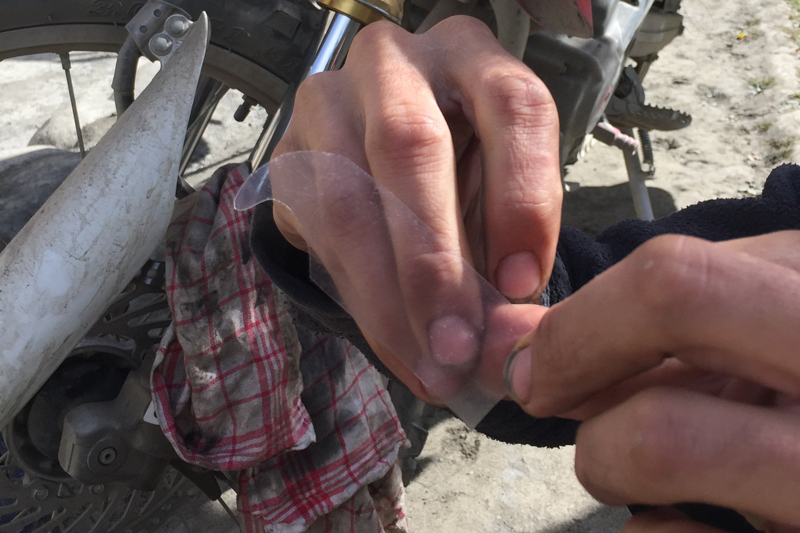
In some countries they offer fuel in plastic bottles, buckets and other containers. Obviously it is not surprising, that it is not completely clean all the time. So we decided to buy some filter socks for the Acerbis tanks to prevent clogged fuel filters and fuel injectors. For any reason we couldn’t buy them in Europe, so we finally had to order them from Australia. Thanks to Profill Australia we received them really fast, although they had to be shipped half around the world.

Additional small mods

We installed cheap but strong third party hand guards on both bikes. They help against cold wind and protect the levers.

Since the riding position is more comfortable sitting a little bit more upright, we raised the handlebars with some risers.

Tobi’s bike had a Concept Seat installed, when we bought it. It looks great, but is much harder than Miriam’s original Honda seat. We wanted the seats to be newly cushioned in Thailand. Unfortunately our recommended upholsterer was sick that time, so we continued with our old seats. During the trip we used sheep skins for a while to make them more comfortable. We also got used to it after some time. However – next time we would already give them a new cushion before the trip and we would make them a bit wider, too.

All additional electrical units are not connected to the batterie directly. They are linked to a relay that is controlled by the ignition switch. Like that we can be sure, nothing starts draining our batterie while the bikes are parked. 

  • Both bikes got automobile auxiliary power outlets installed, to be able to charge our devices on the trip.
  • We mounted Oxford heated grips. The review for these, you can find here.
  • Tobi’s bike is using a Garmin Zumo navigation unit.
  • We exchanged the original head light bulbs with high performance LED bulbs. In Europe we wouldn’t be allowed to ride like that, but in the rest of the world nobody cares. We finally can see while riding in night time.
  • We had two cheap auxiliary lights installed for a few thousand kilometers. Unfortunately they didn’t last that long being exposed to all weather conditions. Usually we don’t ride in darkness at all, so we finally left our bikes with the main head lights only. However these auxiliary lights improved the light performance quite a bit. So if you are riding often during the night, you would probably like the additional light power.

This Post Has 4 Comments

  1. Shon Rand

    Love this post! It’s good, practical information.

    1. RTWriders

      Thanks, unfortunately our bikes are still in Argentina in the moment. We would have liked to add a few more detailed photos.

  2. RTWPrep2023

    Grat post!

  3. RTWPrep2023

    Great post!

Leave a Reply